
Hi Everyone!! Shortly after starting this blog my sister and I both have moved, several times, and we have had 3 babies between the 2 of us! That's right...3!! (2 of them are mine and were born only 11 months apart....can we say SURPRISE!!!) Anyways, between all of that we kind of let the blog go to the wayside, but now I think that we are both to a point where we are ready to start crafting and repurposing and decorating everything we can get our hands on!
So without further adieu....a new tutorial!!
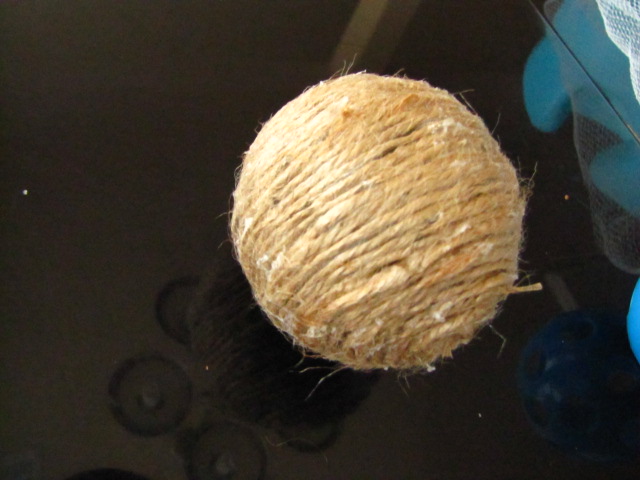
I was at the dollar store the other day and saw a 4 pack of wiffle balls and thought "I should be able to figure something out with these!" I had just ordered some twine off of Amazon (my hubby needed a cheap filler and I have been wanting, needed some twine) and was dying to use it. So away I went. I decided to cover the balls with the twine! Can we say Cheap! I made about 10 balls and it only cost me about $4 total! Woohoo!


No comments:
Post a Comment